# Configuration
{% hint style="info" %}
Before you begin, please note that the **Reality Connector** must be installed on the Engine to be monitored.
{% endhint %}
Configuration
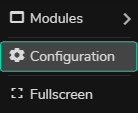
* Click on the **Main Menu** and navigate to **Modules** > **Hardware Monitor**.
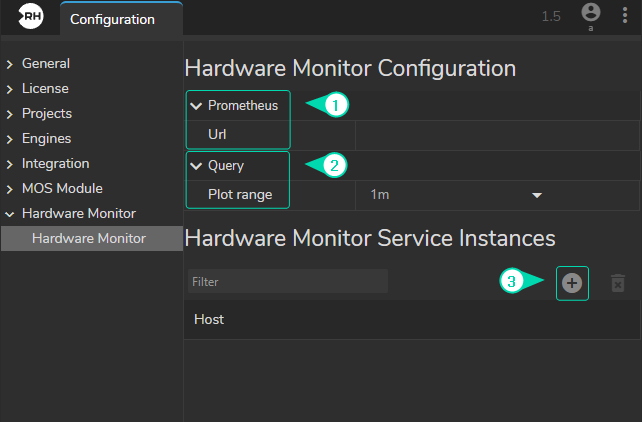
Hardware Monitor Configuration
* Expand the **Hardware Monitor** menu on the left panel.
* Define a Prometheus URL.
{% hint style="info" %}
Hardware Monitor requires Prometheus event monitoring application. Prometheus is installed and preconfigured during the Reality Hub installation. The Hardware Monitor will use port number 9090 as the default port.
Example:
`http://:9090`
{% endhint %}
* Set a Plot Range Query time.
{% hint style="info" %}
In this section, you can choose data points over a time range ranging from 1 minute to 12 hours. You also have the flexibility to adjust this range within the [Plot](https://zerodensitydocumentation.gitbook.io/docs/reality-5.3-sp3/reality-5.3-sp3/user-guide/plot#plot-graph) Graph.
{% endhint %}
* Add Hardware Monitor Server Instance.
{% hint style="info" %}
Hardware Monitor Server Instance refers to an Engine that hosts the Prometheus.
{% endhint %}
Main Menu
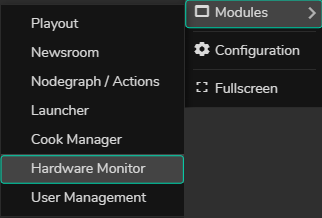
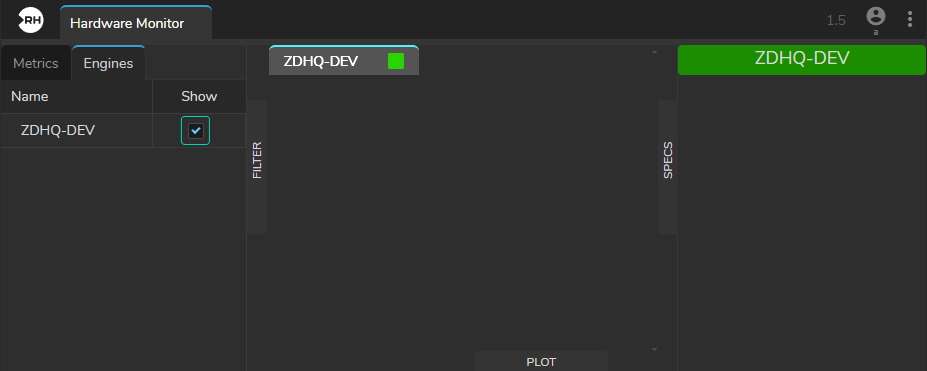
* Click on the **Main Menu** and navigate to **Modules** > **Hardware Monitor**.
Enabling Engine
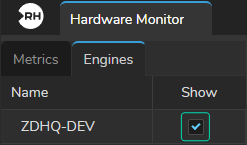
* Click on the Engines tab, then click on the Show checkbox.
Engine Enabled
As soon as your Engine is enabled, its hostname also become available in the [Metric Display](https://zerodensitydocumentation.gitbook.io/docs/reality-5.3-sp3/reality-5.3-sp3/user-guide/hardware-monitor/metric-display) area and [Specs](https://zerodensitydocumentation.gitbook.io/docs/reality-5.3-sp3/reality-5.3-sp3/user-guide/hardware-monitor/specs) section, as shown in the image above.
Enabling Metrics
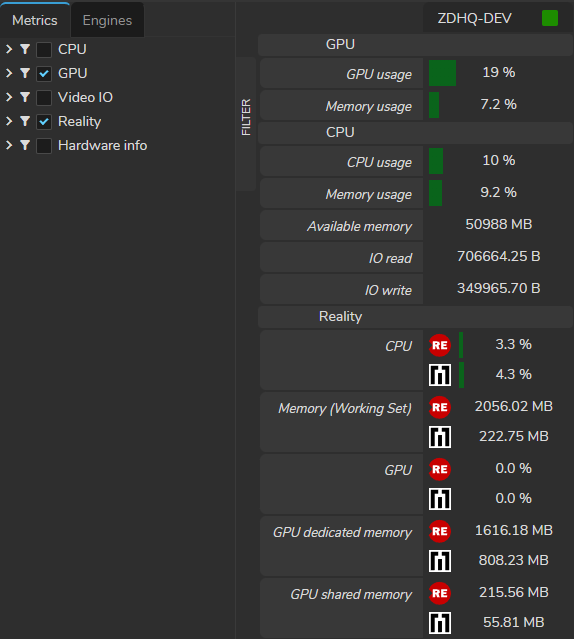
* Navigate to the Metrics section and activate one, several, or all of them according to your preference.