
Animating Property

Activate the Actions module; then click on the
 button.

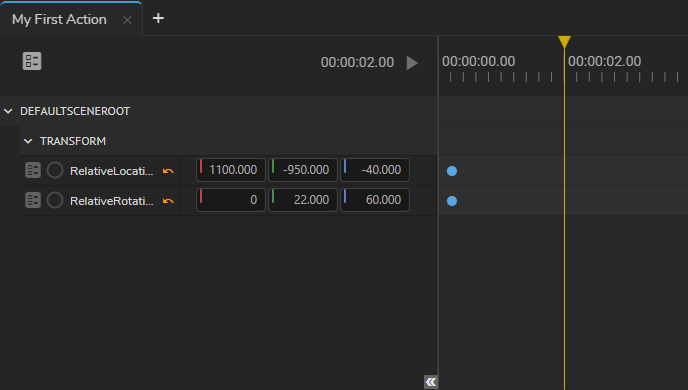
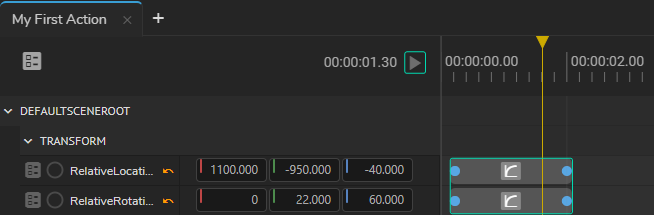
Transform Property Group
Go to
Relative Locationproperty, click on the Add Timeline button ( ) in the Node Property Toolset.


Activate the Actions module; then click on the button.
Transform Property GroupGo to Relative Location property, click on the Add Timeline button () in the Node Property Toolset.