

Triggering Multiple Actions via Single Button
It is possible to trigger multiple actions with a single button.
Preparation
Launch the RealityExample project.
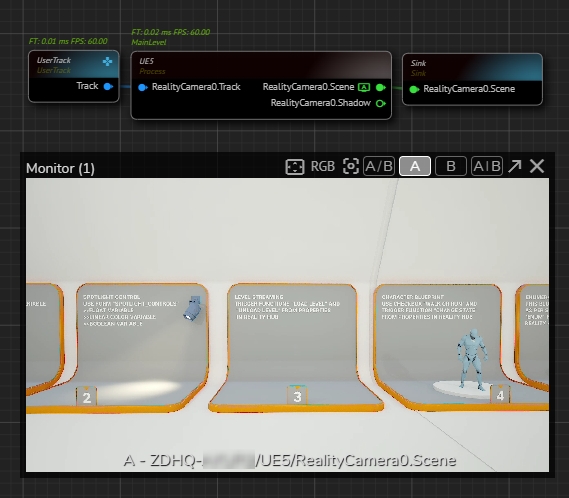
Create a node tree and activate the APM, as shown in the image above.
Change the camera angle to a suitable position to observe changes by using GamePad feature.
Creating Actions

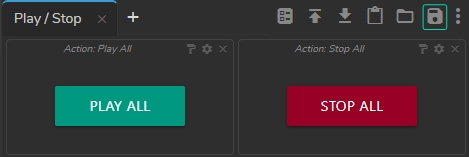
Create a new Action, rename it to something like Play All.
Select the
UE5node, go to Node Details Panel.Expand the UE5 folder, then go to Blueprints > and select the BP_LevelStreaming.
Go to Properties panel, expand the Default.
Click on the Add Timeline button of the
Load Levelproperty, as illustrated above.
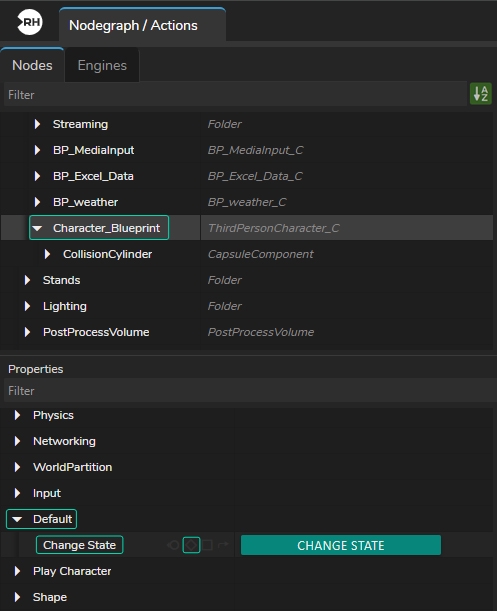
By inheriting the previous method, add the
Chane Stateproperty of the Character Blueprint into the timeline, as shown in the image above.
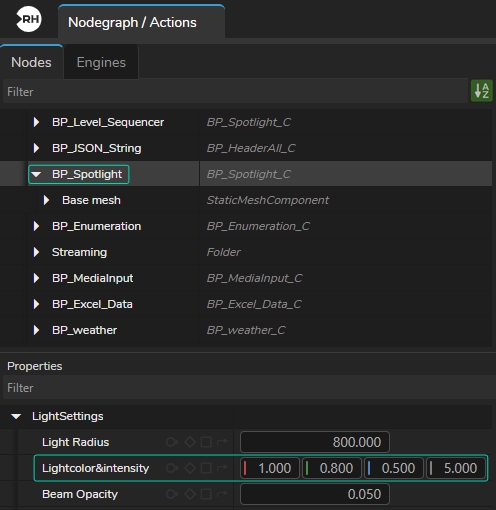
Add the
Lightcolor&intensityproperty of the BP_Spotlight into the timeline, as shown in the image above.
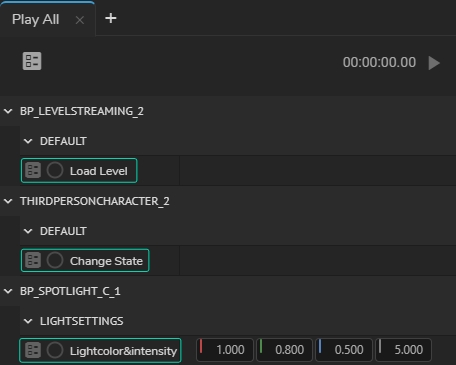
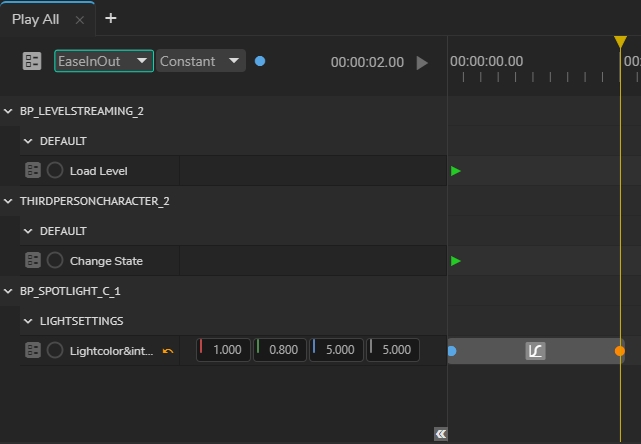
We added Load Level, Change State and Light Color & Intensity properties to the Action Timeline, as illustrated above.
Animation
Go to first frame and add keyframe to each property.
Go to second 2, change the Blue value of Lightcolor&intensity from 0.500 to 5.000
Add a keyframe to Light Color & Intensity, change its interpolation type to EaseInOut, as illustrated above.
Save the action.
Reversing Animation

Create a new Action, rename it to something like Stop All.
Add Unload Level, Change State and Lightcolor&intensity properties to the Action Timeline.
Go to first frame and add keyframe to each property.
Go to second 2, change the Blue value of Lightcolor&intensity from 5.000 to 0.500.
Add a keyframe to Lightcolor&intensity, change its interpolation type to EaseInOut.
Save the action.
Creating Template Form
Activate the Form Builder and create a new template form.
Go to the first Action, click & hold your left mouse button on the Action Play button, drag & drop it into Form Area.
Repeat the same procedure for the second action.
Save the Template Form, as illustrated above.
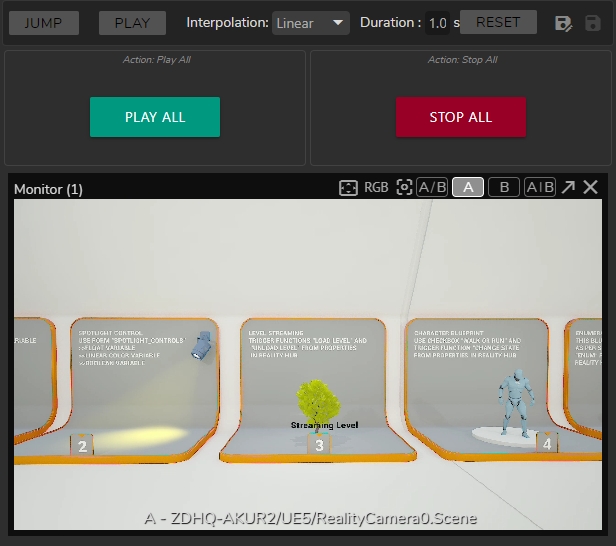
Activate the Playout module, select your template from Playout Template Form Area
Click on the buttons and check the results via APM.